
Hangboard Doorway Mount
Quick start guide
Table of Contents
Note: these instructions apply to doorway mounts with or without a hangboard pre-installed to them, there is no need to remove the hangboard from the mount prior to assembly.
⮞Replacement pads can be purchased here
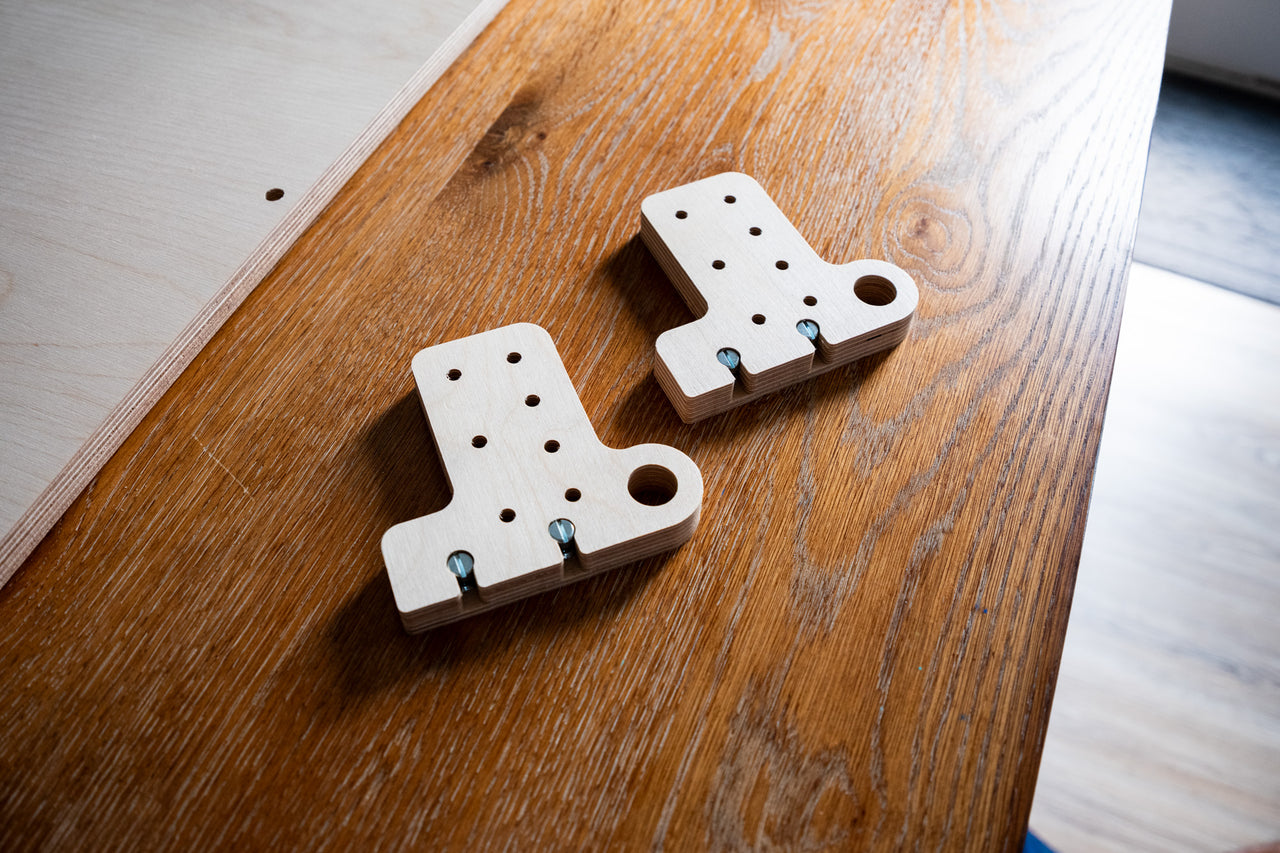
In the box:


1x Mounting Board
2x Rotating Hooks
2x Brackets
4x Bracket Screws
4x Dowel Nuts
2x Carriage Bolts
2x Thumb Knobs
2x Clevis Pins
2x Cotter Pins
2x Rubber Pads
Assembly
Dowel nuts
Step 1:
Place dowel nuts into the slots on the plywood brackets with the grooves facing up (so you can adjust the orientation of the dowels nuts in the next step).
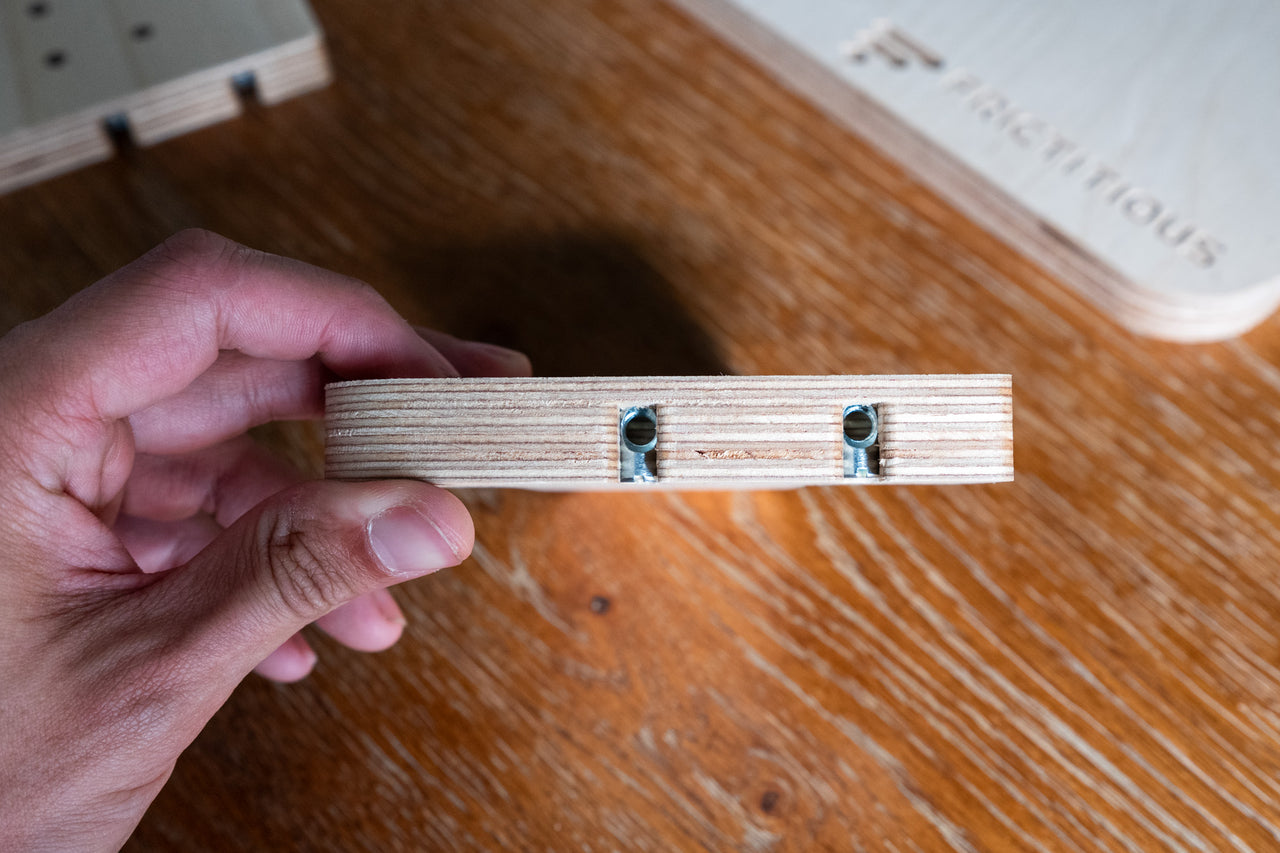
Step 2:
Ensure that the dowel nut threads are aligned with the slots in the brackets as shown and pressed all the way in. Use flathead screwdriver to adjust alignment.
Assembly
Front Screws and Brackets
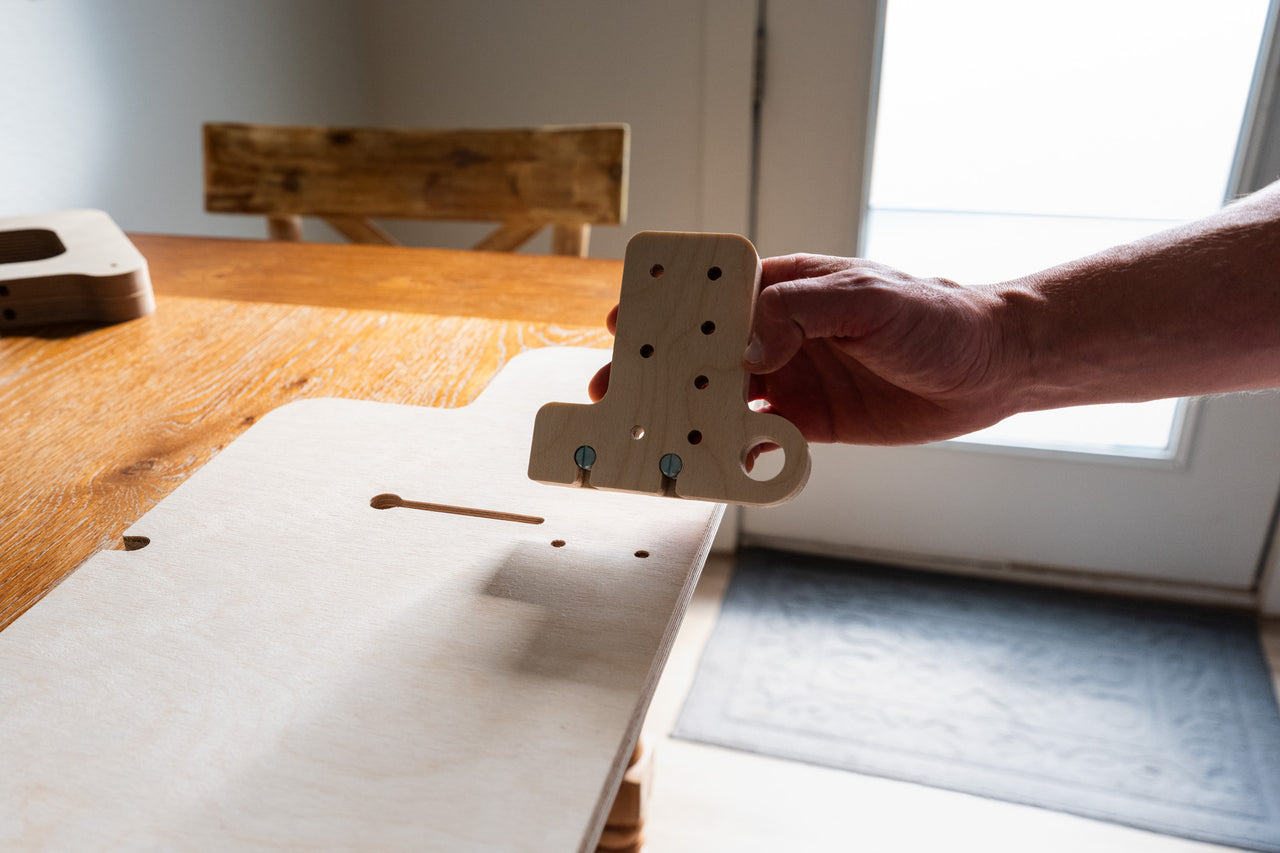
Step 1:
(complete steps 1-4 for one bracket and repeat steps for the other bracket)
On a flat surface, place the mounting board face down (Frictitious logo down). Place one bracket over the two holes with the assistance ring hanging over the edge.
Step 2:
From the logo side of the mounting board, insert the 2 bracket screws through the 2 holes so they make contact with the dowel nuts.
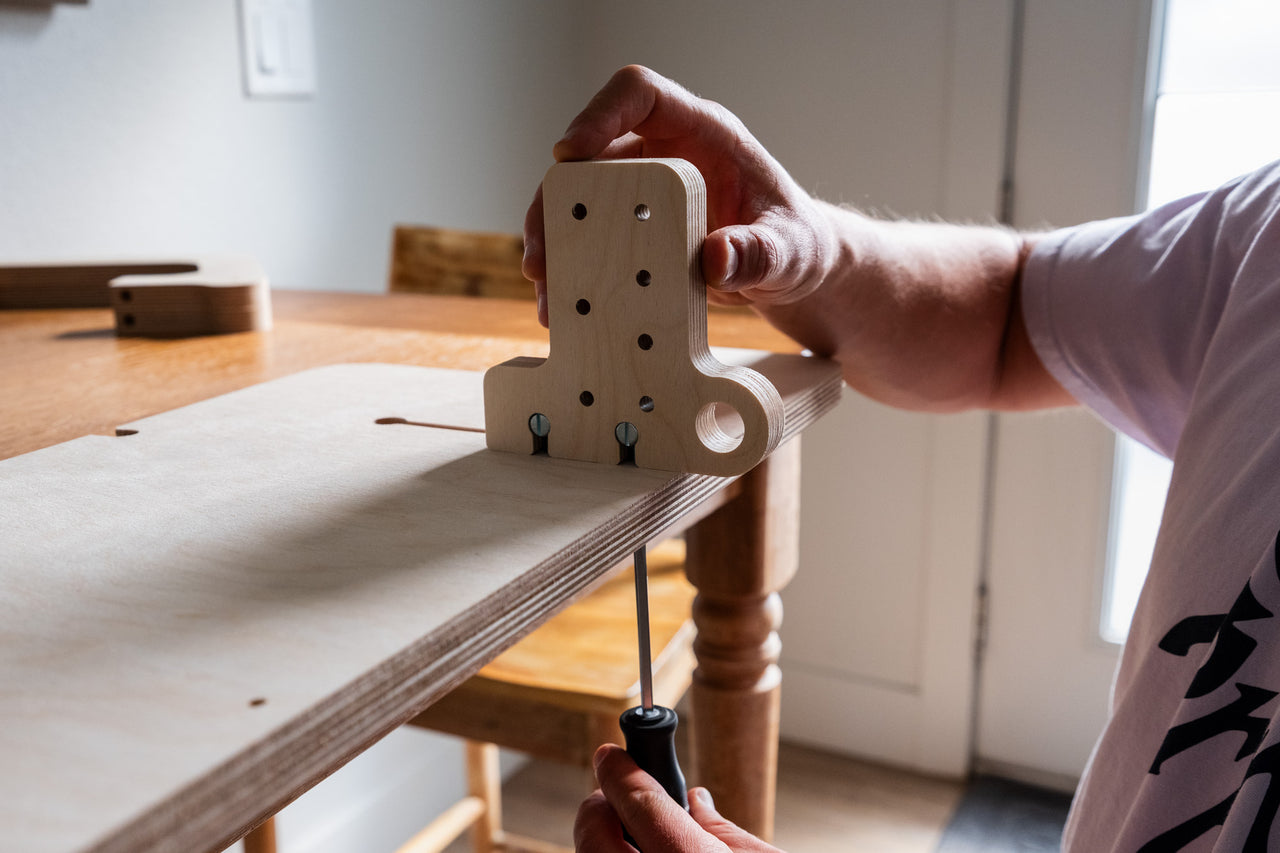
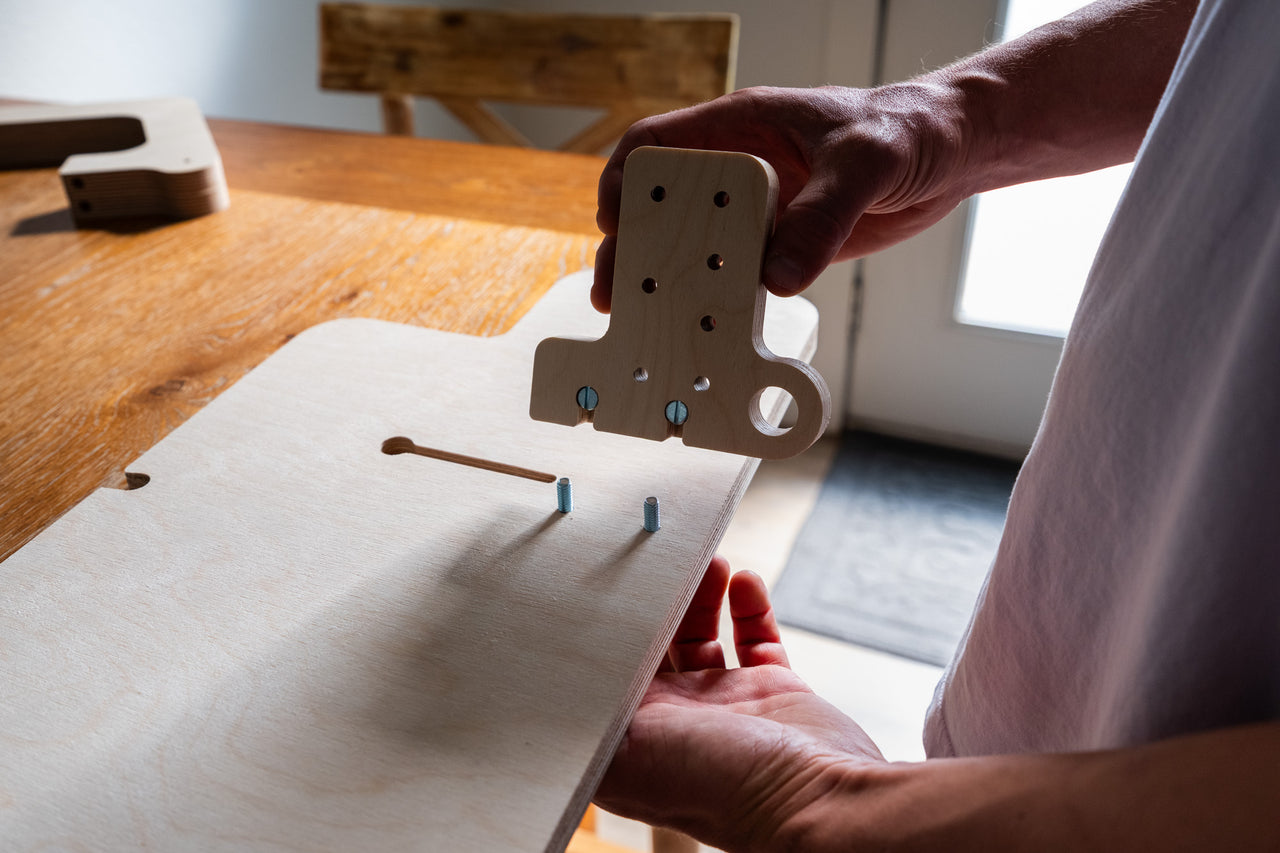
Step 3:
Screw the screws into the dowel nuts in the bracket, lightly at first. The bracket should be perpendicular with the mounting board.
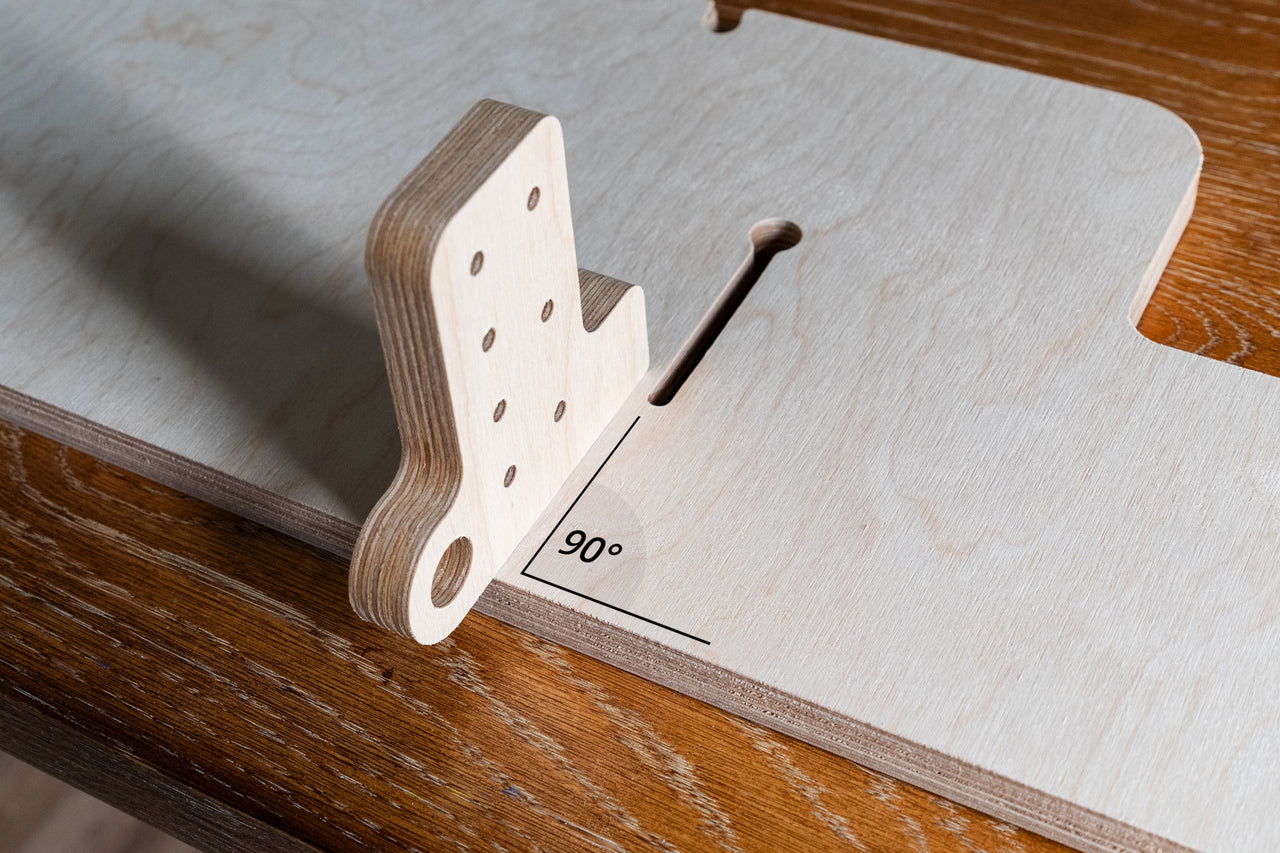
Step 4:
Once you confirm the brackets are perpendicular with the mounting board, tighten bracket screws AS TIGHT AS POSSIBLE BY HAND. Keep these as tight as you train.
(repeat these steps for the second bracket)
Assembly
Carriage bolts and thumb knobs
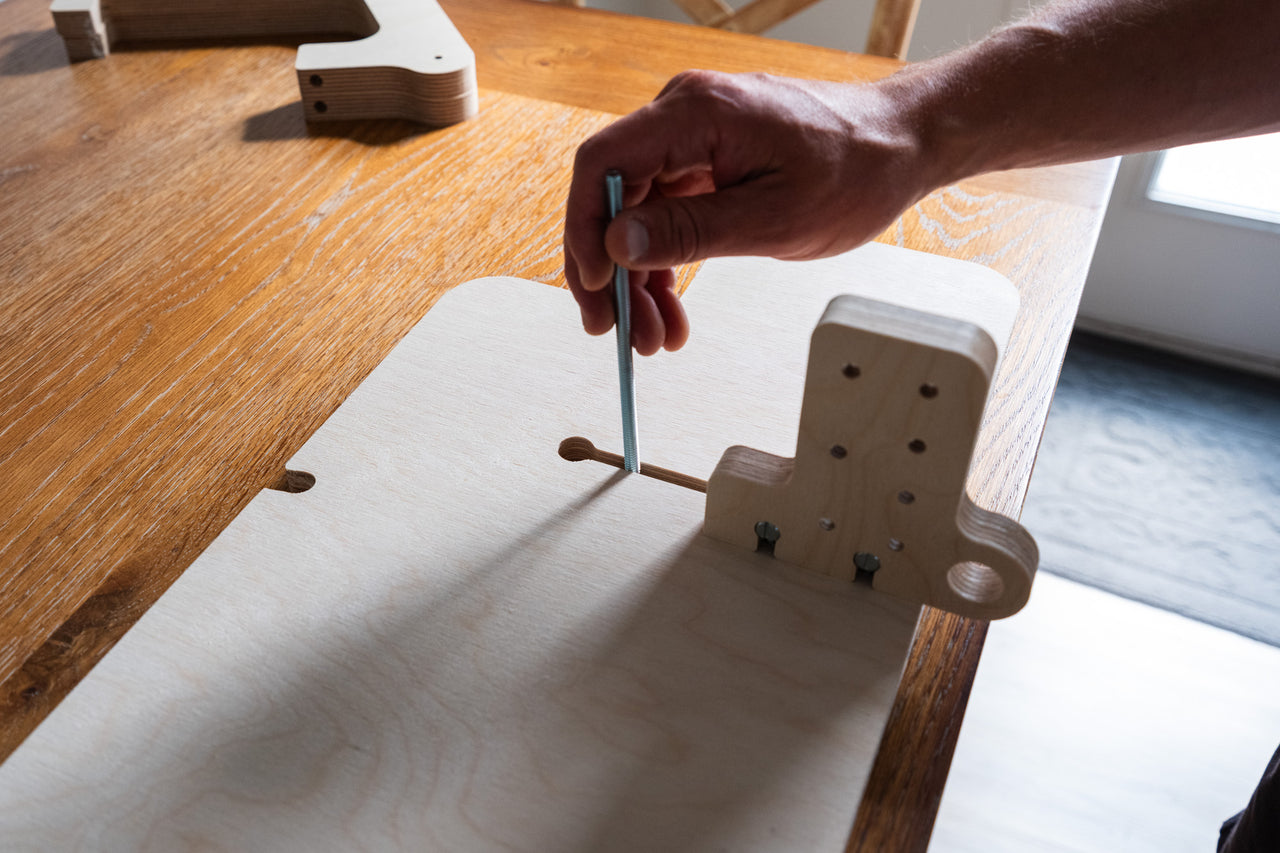
Step 1:
With the mount logo side down, place the heads of the carriage bolts into the keyhole slots from the back of the mounting board and slide them down.
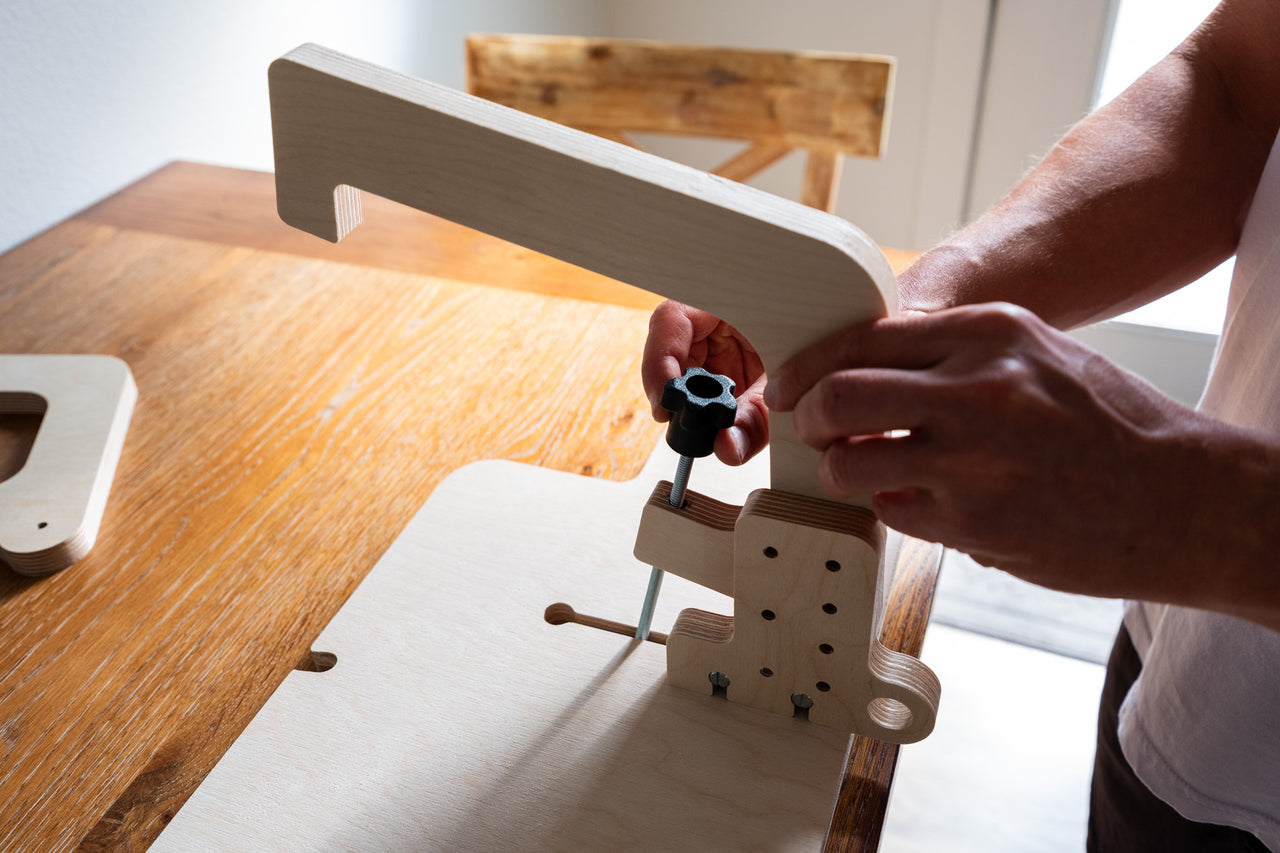
Step 2:
Slide the hooks onto the carriage bolts with the hooks in the orientation shown, and thread the thumb knobs onto the carriage bolts about a third of the way down.
Assembly:
Clevis and Cotter Pins
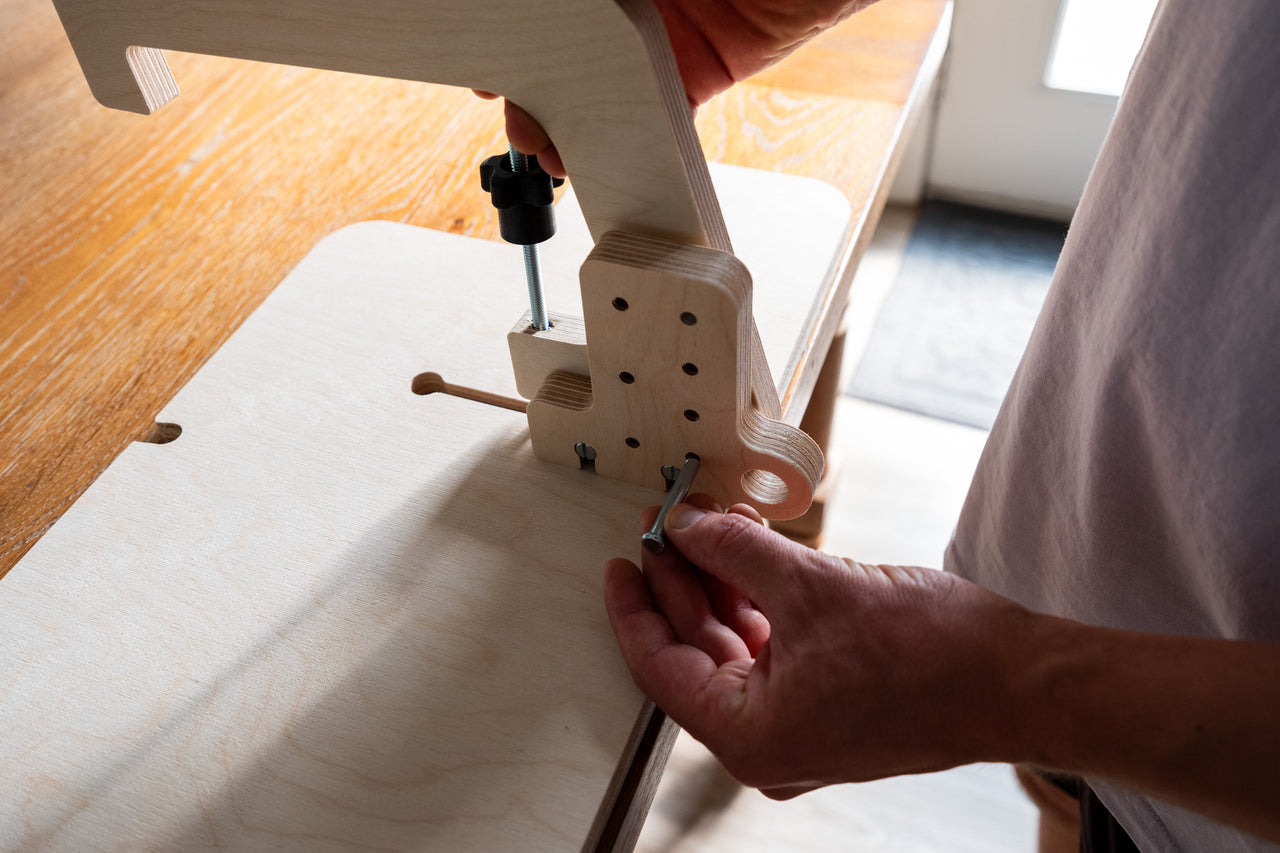
Step 1:
Insert clevis pin into bracket hole on the bottom row, closest to the mount (the hole shown in the image) AND through the hole in the side of the hook.

Step 2:
Secure pin by attaching cotter through pin hole.
Installation:
Doorway Install
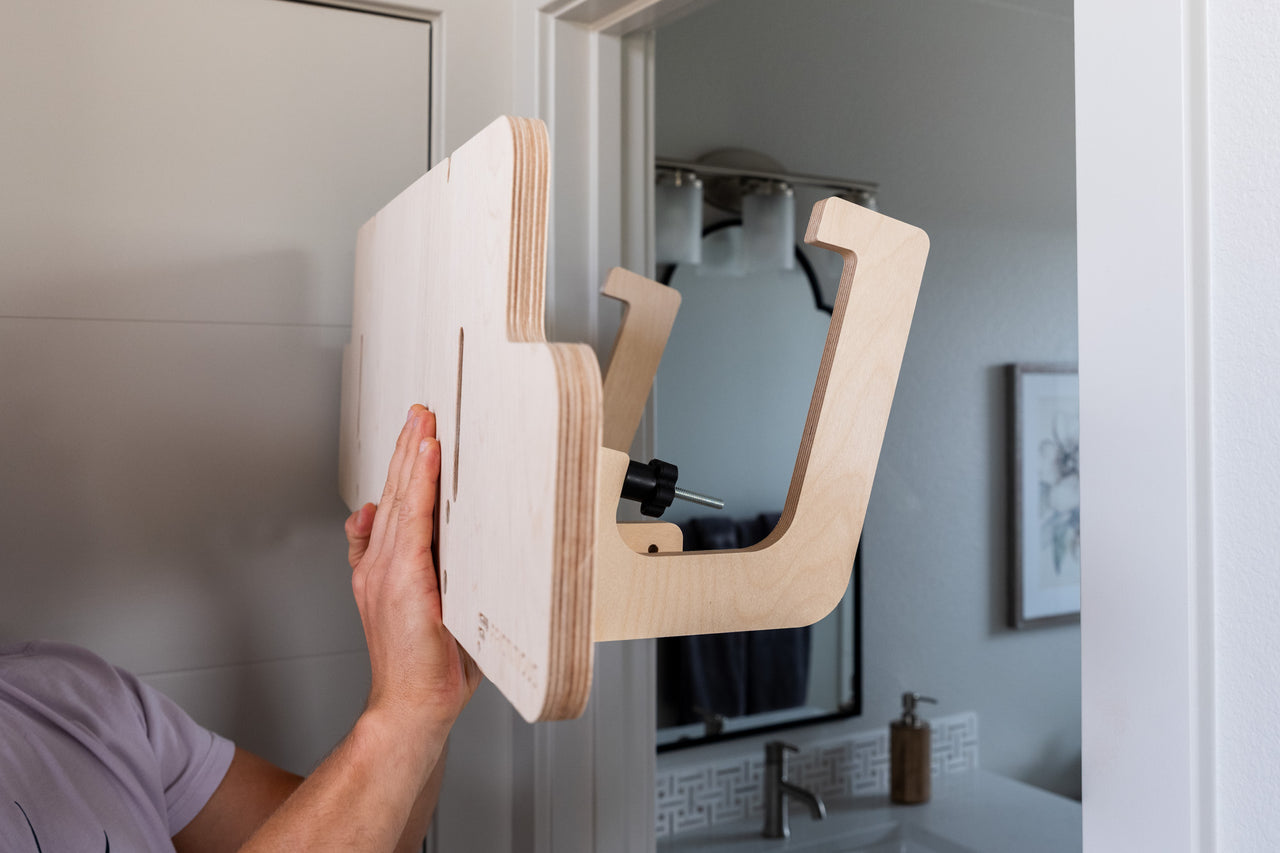
Step 1:
Loosen thumb knobs and rotate hooks open.
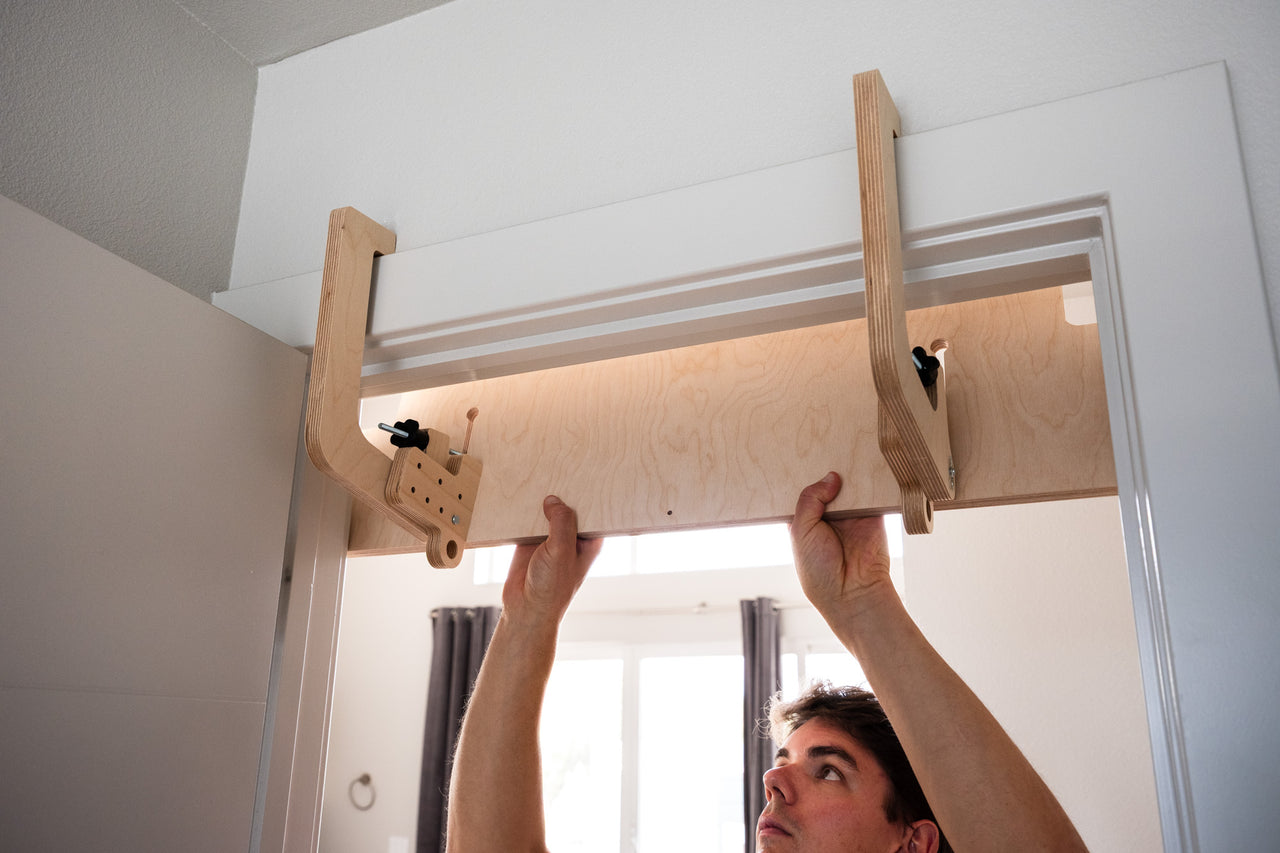
Step 2:
Place the mounting board flush against the trim and centered with the doorway so that the hooks are on the other side and located above the top trim.
Step 3:
Rotate the hooks closed and lower the mount until the hooks are resting on the top trim, holding the mount in place. Tighten the thumb knobs and keep tight.

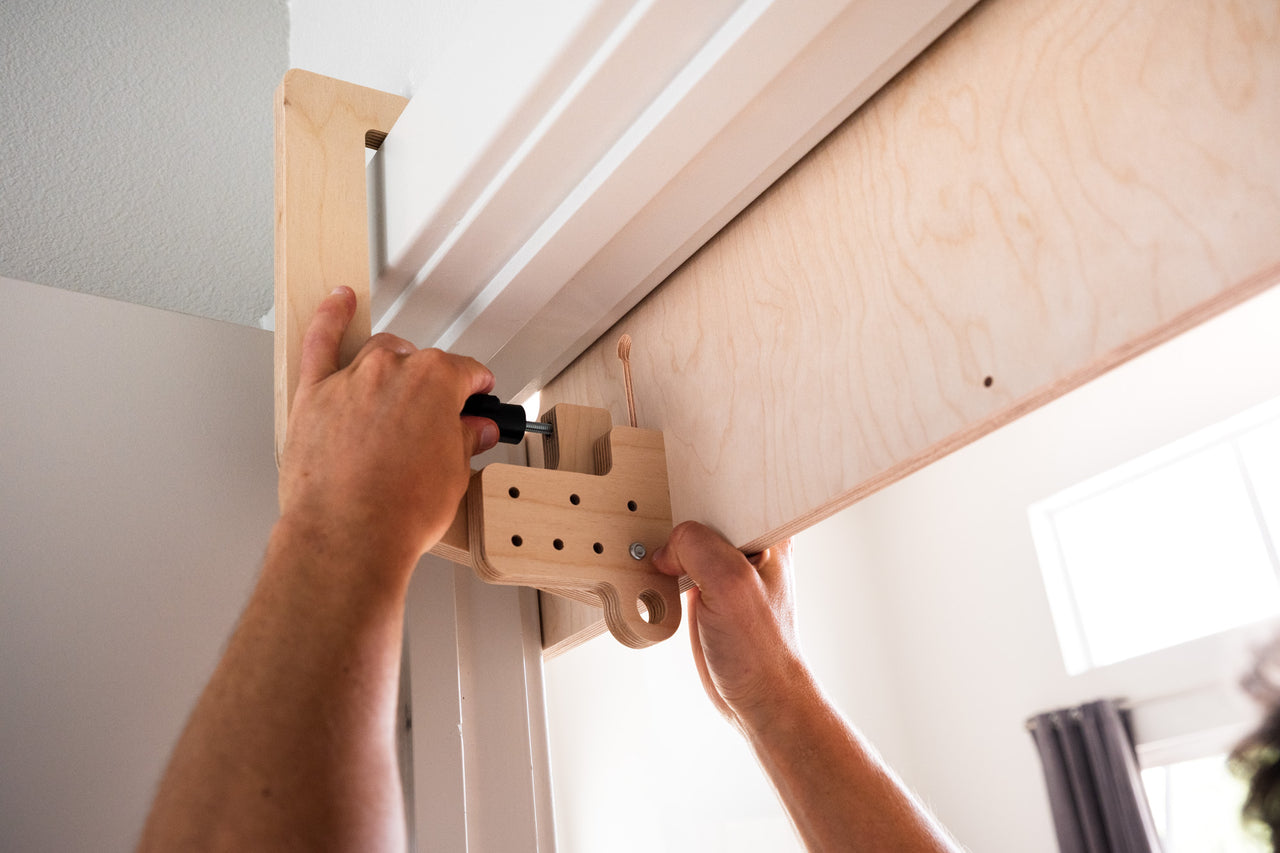
Step 4:
Assess if hooks need adjustment.
With the thumb knobs tightened, the hooks should be approximately vertical.
If the hooks are tilted back significantly, take the Doorway Mount down and move clevis pin to the next bracket hole and retry. Continue moving the pin out until the hooks are close to vertical when clamped.
Rubber Pads
Finding Rubber Pad Location
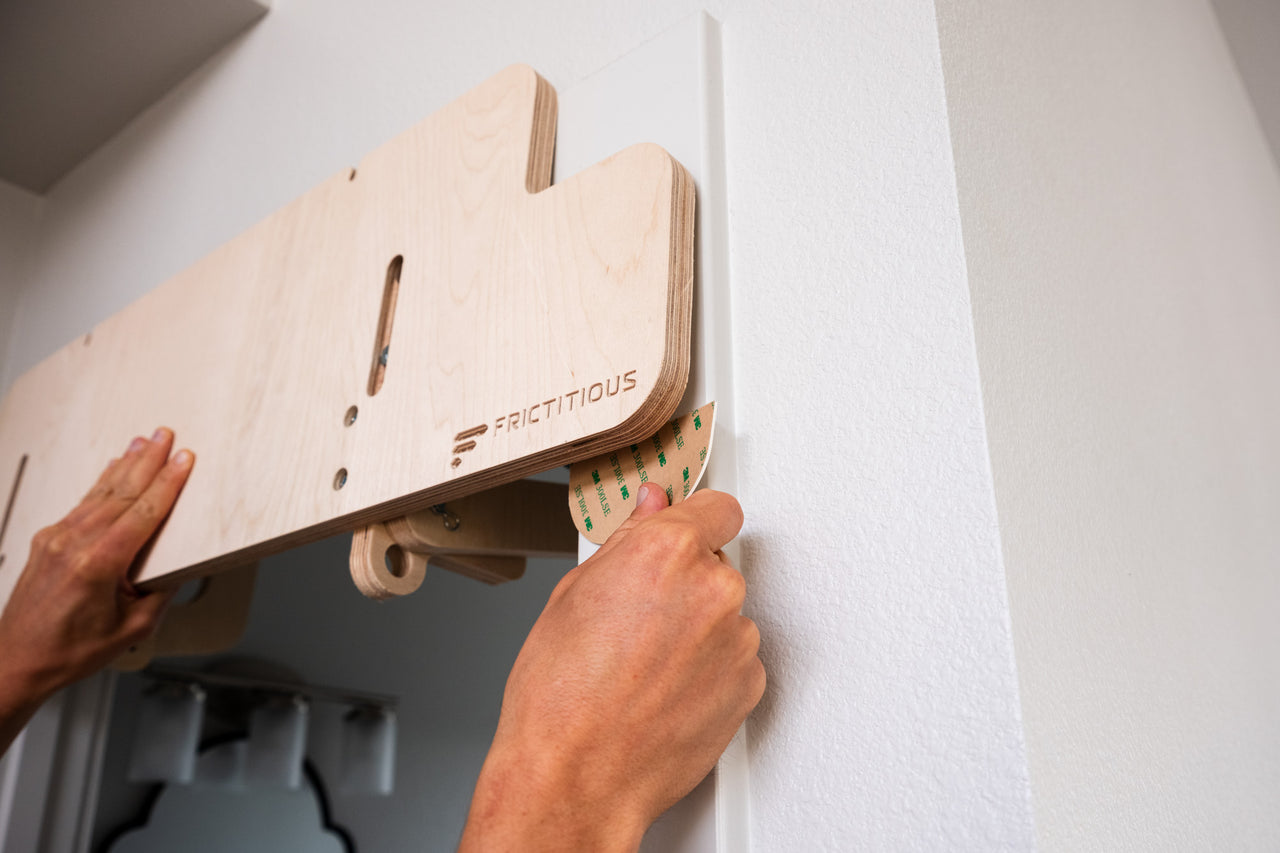
Ensure the doorway mount is centered on the doorway where you want it.
Loosen the thumb knobs slightly so that the bottom of the mount can rotate upwards, allowing you to slip the rubber pads between the trim and mount.
Take mental note of where rubber pad should go to protect doorway trim from the back of the mount.
Rubber Pads:
Applying rubber pads
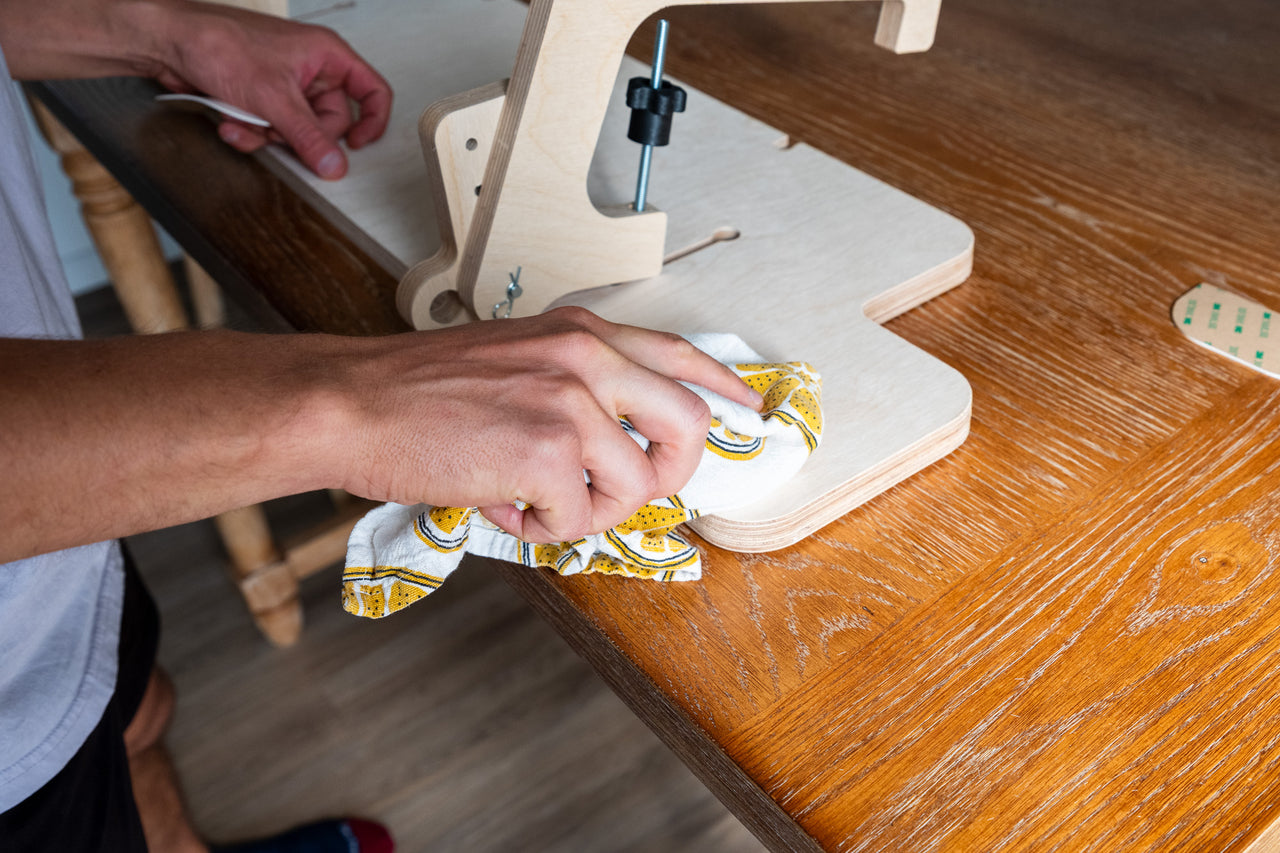
Step 1:
(!!!!) Clean any dust off the location with a dry rag to ensure proper adhesion.
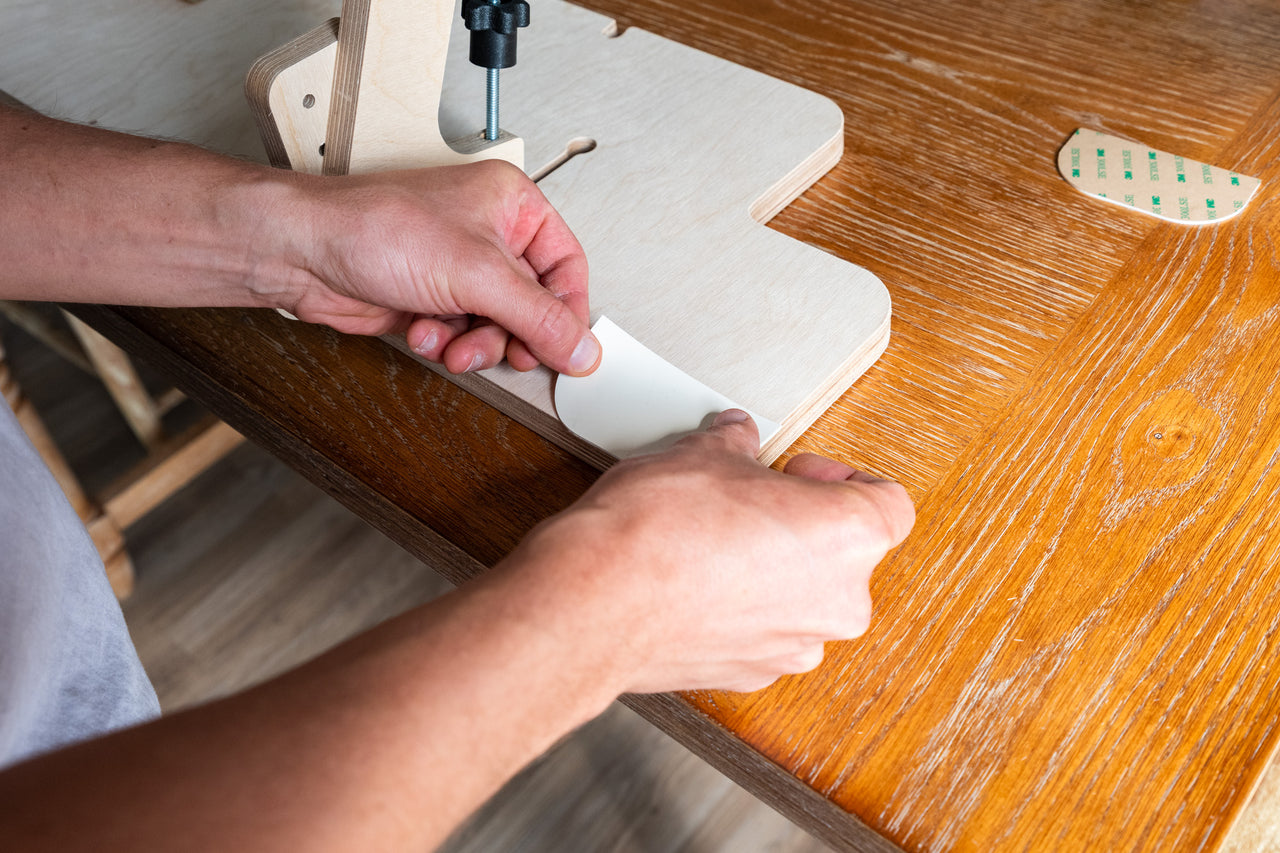
Step 2:
Remove paper from rubber pads and stick into place. FIRMLY PRESS the pads into the doorway mount using your thumbs or palms.
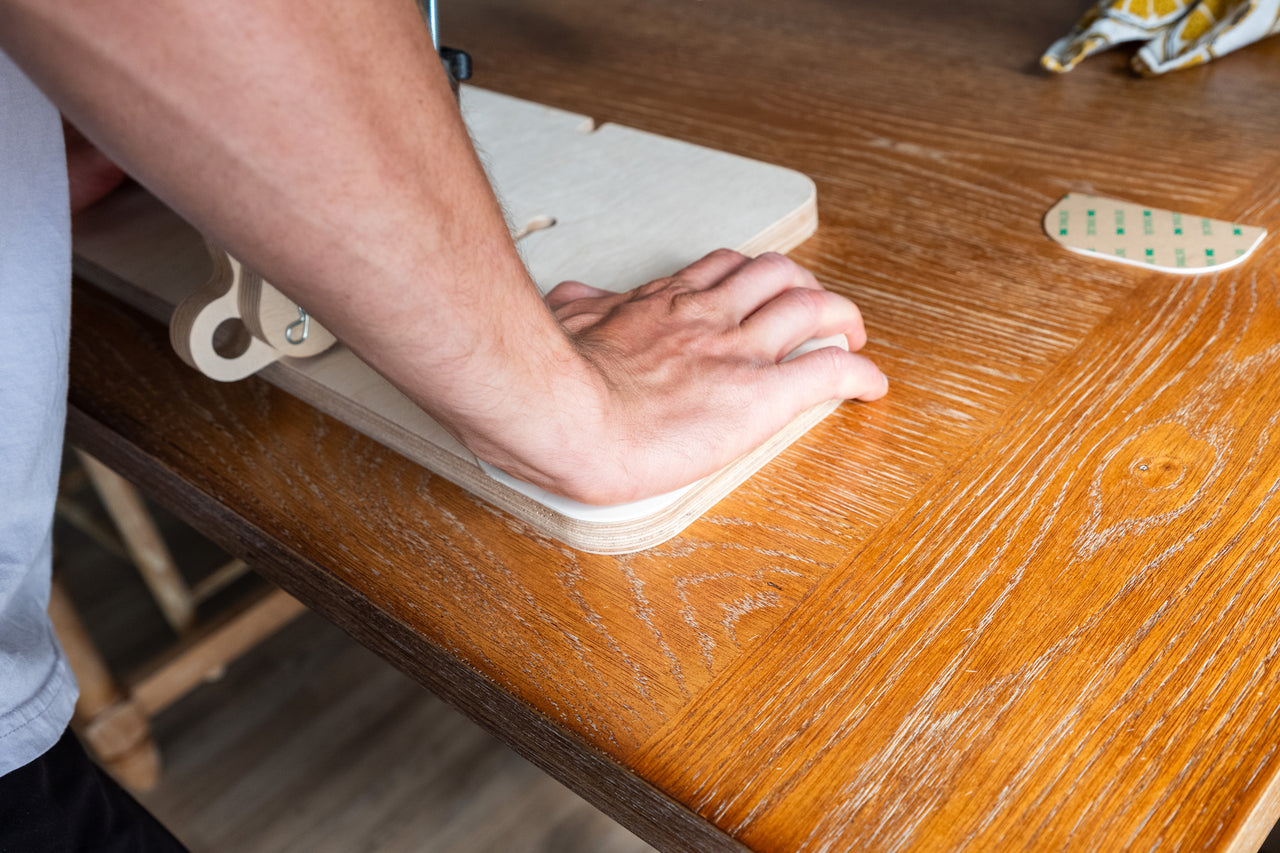
Step 3:
FIRMLY PRESS the pads into the doorway mount using your thumbs or palms.
⮞Replacement pads can be purchased here
Mounting a Hangboard
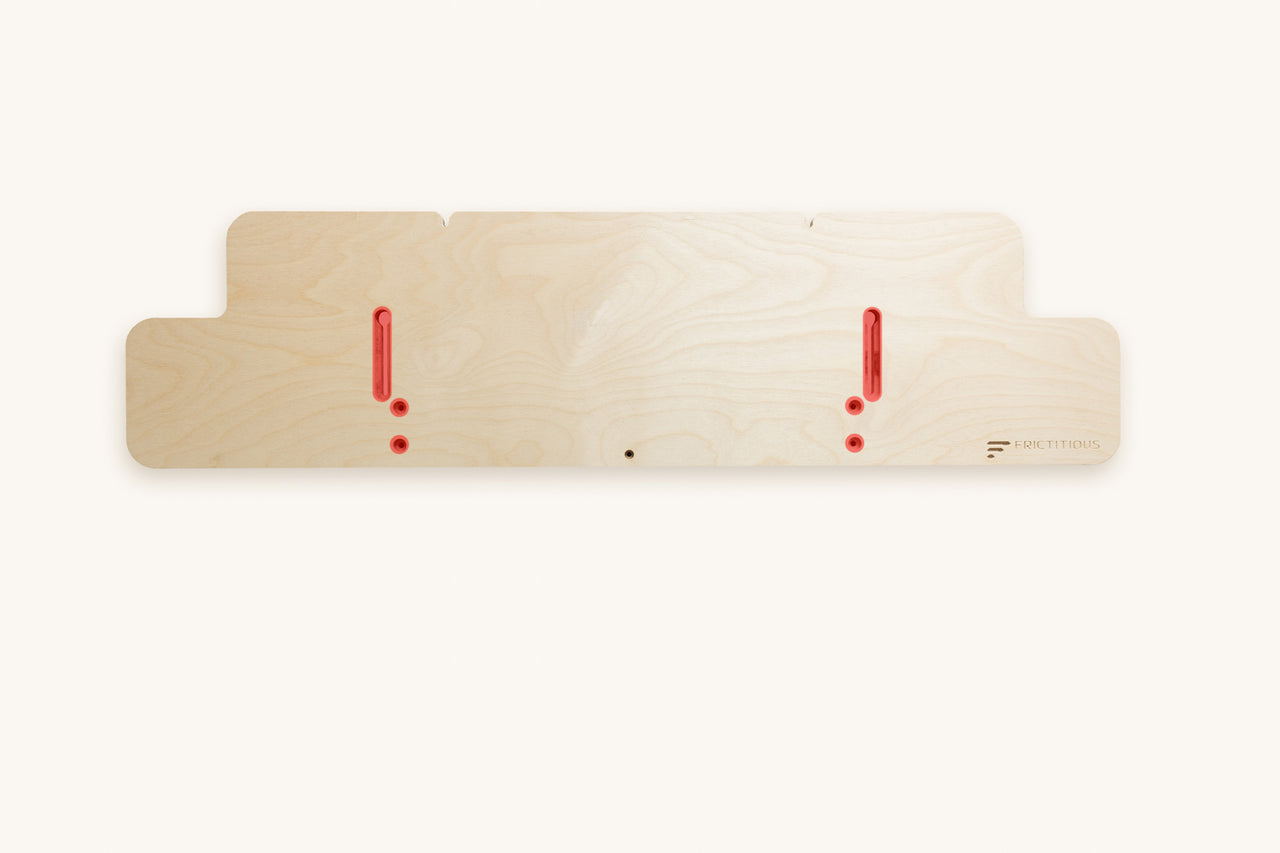
Precautions when mounting a hangboard:
- NEVER screw into the areas highlighted in red on the mounting board.
- Do not over-tighten screws when mounting any hangboard to the doorway mount, as this will cause the screws to penetrate through the backside of the mount.
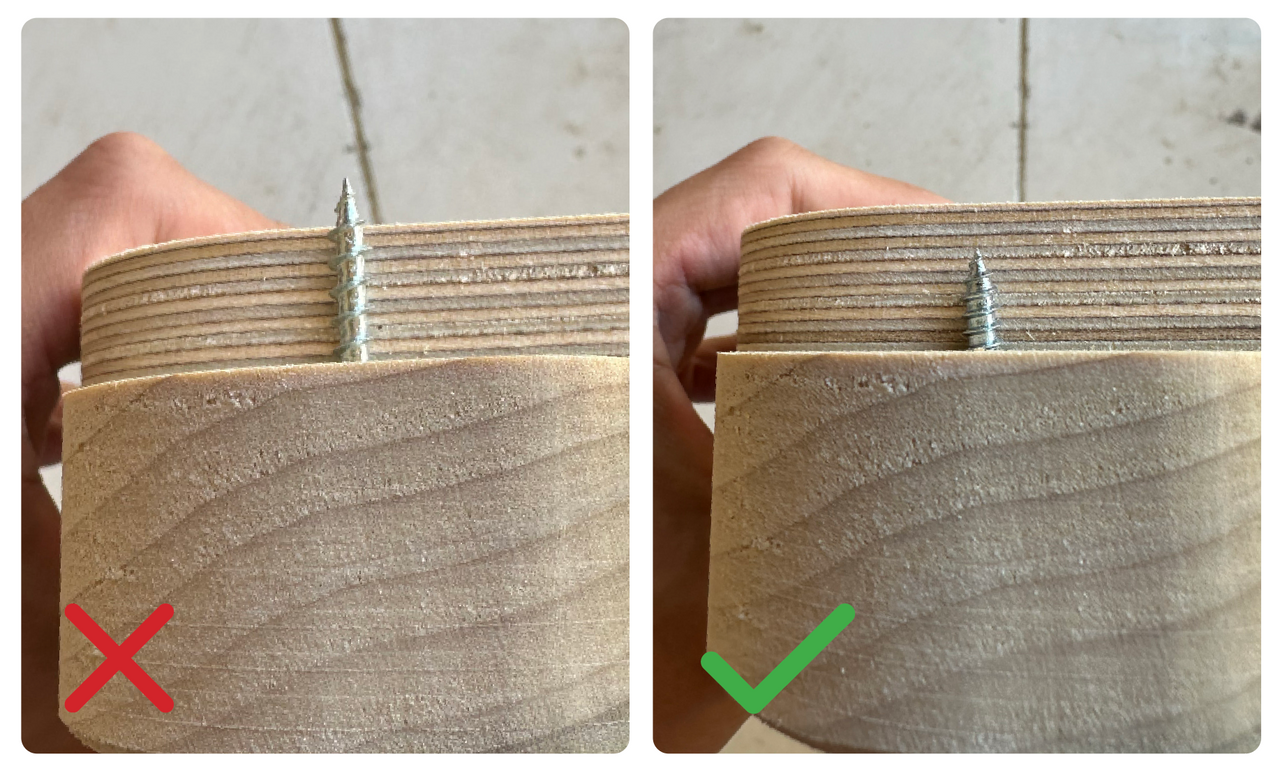
Proper screw lengths:
- Frictitious hangboards come with the proper length screws.
For non-Frictitious Hangboards, we recommend:
- Screws that do not penetrate the back of the mount BUT do penetrate at least 2/3 of the mount.
- Taking the mount and hangboard to the hardware store to find the correct length screws for your hangboard.
- Using at least six #10 size construction grade screws.
Safety Warnings

⚠️ The Doorway Mount’s weight limit is 250 lbs.
Please note that if your trim is not completely solid, it could be the limiting factor in weight limit.
⚠️ No Explosive Pull Ups.
Explosive or fast pull-ups should be avoided.
✅ Always:
• Make sure all hardware is secure and tight before using.
• Make sure the hooks solidly latch fully to the trim in the back.
• Make sure the thumb knobs are TIGHT and remain TIGHT throughout your training session.
• Inspect and TEST the Doorway Mount by lightly weighting it before every use to ensure it is set properly.

The bracket assistance rings are only to be loaded VERTICALLY, with a capacity of 50 lbs. Never load them horizontally or connect the two rings.
thank you
We hope you enjoy your new Hangboard Doorway Mount from Frictitious Climbing. If you have
any questions or need assistance, please reach out to info@frictitiousclimbing.com
